

How to upgrade the SSD in your Lenovo ThinkCentre M720q Tiny
Lenovo's ThinkCentre M720q PC manages to pack a lot of hardware and ports into its compact chassis, including dual SODIMM RAM slots, a 2.v-inch hard bulldoze bay, and an M.ii PCIe solid-land drive (SSD) slot. Depending on the configuration you go with at checkout, your model may or may not include an M.2 SSD. In this guide, we'll prove you how to add or upgrade an M.2 PCIe SSD for better operation or more space.
Hardware and software to get the task done
- M.ii PCIe SSD: Samsung 970 EVO Plus (From $80 at Amazon)
- Cloning tool: Macrium Reflect vii (Free at Macrium)
- SSD enclosure for cloning: ElecGear M.2 PCIe enclosure ($50 at Amazon)
- Foreclose damage: Rosewill anti-static wristband ($7 at Amazon)
- All required tools: ORIA PC toolkit ($33 at Amazon)
- Compact desktop PC: Lenovo ThinkCentre M720q Tiny (From $389 at Lenovo)
How to upgrade the SSD in your Lenovo ThinkCentre M720q
Note: Earlier kickoff whatever upgrades on a PC, it'southward a good idea to back up your data in the unlikely event something should go wrong. Y'all'll also want to ensure you're not working in a static-filled surroundings, as it can crusade damage to a PC's internal hardware. Consider investing in an anti-static wristband to avoid unnecessary damage.
There are quite a few configuration options bachelor for the ThinkCentre M720q, including those with only ii.v-inch SATA storage, merely an 1000.2 PCIe SSD, or both. If your model has the slower 2.5-inch SATA storage or a pocket-sized M.2 SSD, an upgrade to something like Samsung's 970 EVO Plus will bring far better speed and more storage space.
If your M720q shipped with an Grand.2 PCIe SSD like our review model, you'll likely want to clone any existing data (including Windows 10) on the old Thousand.2 drive over to the new M.ii bulldoze before swapping them out. This tin can exist achieved with an external SSD enclosure and Macrium Reflect 7 cloning software. We've written a complete guide on how to clone hard drives to help y'all through the process.
If your M720q has only a 2.five-inch SATA drive, you take a few options. Because Windows 10 is installed on the SATA drive, you lot tin add an M.2 PCIe SSD and utilize it for storage only with no need for cloning. On the other hand, you can clone Windows 10 and any existing data from the SATA drive to the M.2 PCIe SSD after installation and reap the benefits of faster read and write speeds. Finally, you tin do a fresh install of Windows x on the M.two SSD after it's been added to the PC, move any important files over from the SATA drive, and format it to utilize as majority storage.
Once you've completed any necessary cloning and have backed up any of import data, clear out a well-lit workspace, power down your ThinkCentre M720q Tiny, and proceed with the steps below.
-
Unscrew the large black fastener on the back of the ThinkCentre M720q.

-
Slide the top and front portions of the chassis cover away from the rear. It should separate with relative ease.

-
Plow the M720q over to reveal another removable panel.

-
Slide the bottom panel away from the rear of the device. It should come up away with relative ease.

-
Pull up the blue clip that holds the Thousand.2 PCIe SSD in place. This is used in lieu of a single screw. The M.2 SSD should pop upwards and remain at about a 45-degree angle.

-
Pull the old M.ii SSD out of its slot.

-
Insert the new G.2 SSD into the slot at about a 45-degree angle. Notice it is keyed and volition only fit one way.

-
Push button in the blue clip at the end of the One thousand.two SSD to secure it in identify.

-
Slide the bottom panel back onto the M720q master chassis.

-
Slide the peak and front end panels of the M720q back on the principal chassis.

-
Screw in the single black fastener on the back of the M720q.


You can now boot upwardly your ThinkCentre M720q and see if the upgrade went according to plan. If your PC has trouble recognizing a fresh drive that hasn't been cloned, yous might demand to format it for Windows 10. If there's any post-upgrade cloning from a SATA drive, now is the fourth dimension to do so.
Our top hardware and software picks
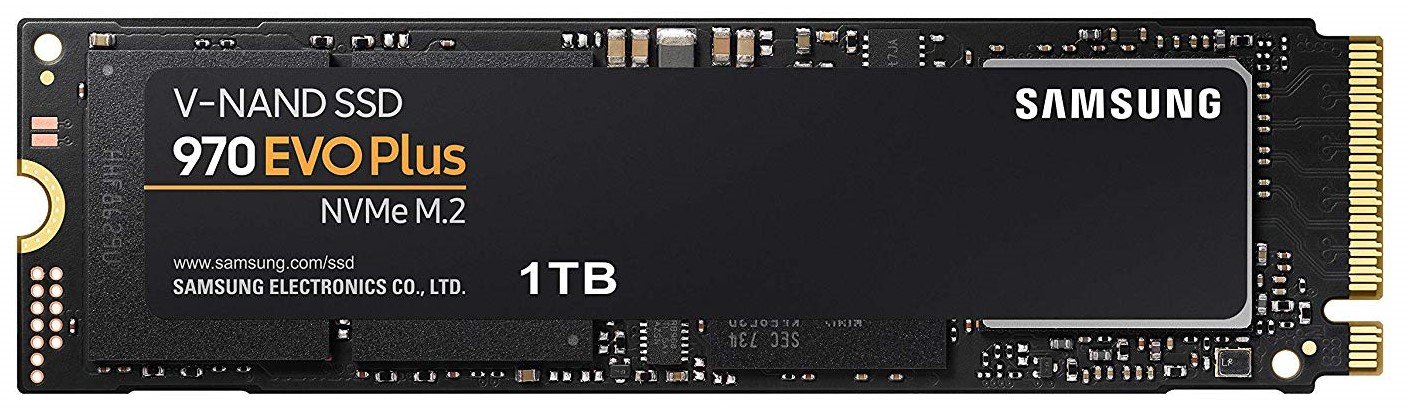
Our pick for an upgrade Thousand.2 PCIe NVMe SSD is Samsung's 970 EVO Plus. Information technology'due south incredibly fast, information technology'south long-lasting, and information technology's relatively cheap for the performance you're getting.
Blazing SSD speeds
Samsung 970 EVO Plus
Unreal performance up to 1TB in size
Samsung'southward 970 EVO Plus brings blistering read and write speeds, a competitive price, and a 5-year warranty, which altogether is an impressive parcel. Sizes start at 250GB and become up to 1TB.
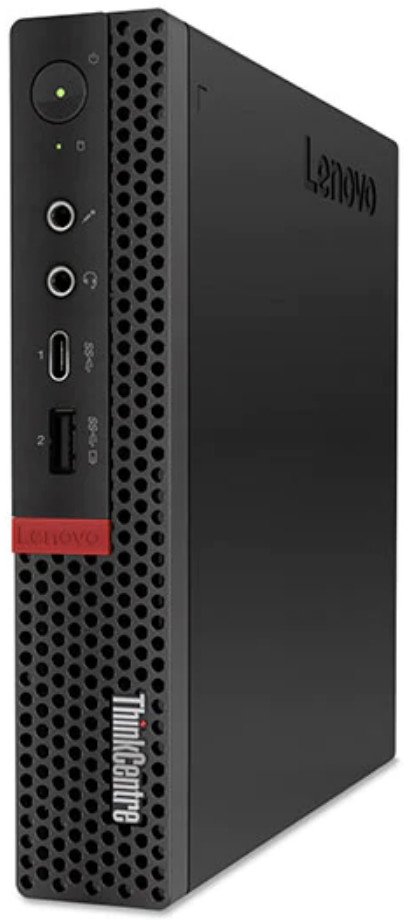
If you're looking for a desktop PC that tin can stay connected to a monitor, keyboard, and mouse at all times yet doesn't take upwards much space in your office, Lenovo'southward ThinkCentre M720q Tiny is an first-class option.
Pint-size desktop PC
Lenovo ThinkCentre M720q Tiny
Compact PC with enough of features
With up to an Intel Core i7 CPU, 32GB of RAM, and 2TB of storage, there'southward a lot of hardware packed into this petty PC. It has a generous port selection, it runs cool, and y'all can upgrade RAM and storage down the line with relative ease.
Boosted Equipment
To make the upgrade process easier and less risky, consider investing in some of these affordable PC tools, and don't forget well-nigh Macrium Reflect and an external enclosure for those who desire to clone drives.

ElecGear K.2 PCIe enclosure ($fifty at Amazon)
If you're cloning the original SSD to the new SSD, an external enclosure is needed. This option from ElecGear fits Grand.2 PCIe NVMe SSDs and tin can connect dorsum to your ThinkCentre M720q with USB-C or USB-A.

Macrium Reverberate seven (Costless at Macrium)
We've had success cloning drives with Macrium Reflect seven, and have even written a complete guide on how to employ it properly. A gratuitous edition is available, merely you can buy a full edition with a bunch more features for those who truly take backups seriously.

ORIA PC toolkit ($33 at Amazon)
Having the proper gear to work on your PC volition e'er make the task much easier. Here y'all get a plethora of tools independent in a portable case.

Rosewill anti-static wristband ($7 at Amazon)
Static electricity can harm sensitive PC parts, and then remove the risk with an anti-static wristband. Spike information technology effectually your wrist and prune it onto your PC for peace of mind.
We may earn a commission for purchases using our links. Learn more.

Buyer's guide
Complement your ThinkPad X1 Extreme with these accessories
Lenovo's ThinkPad X1 Extreme can handle a heavy workload on its own, but it tin be complemented past some worthwhile accessories. Nosotros've collected a bunch of the best that will piece of work with first- and second-generation models of the versatile Ultrabook.

Source: https://www.windowscentral.com/how-upgrade-ssd-your-lenovo-thinkcentre-m720q-tiny
Posted by: collinsfecousels.blogspot.com
0 Response to "How to upgrade the SSD in your Lenovo ThinkCentre M720q Tiny"
Post a Comment